May 30, 2018

FX Console + KBar

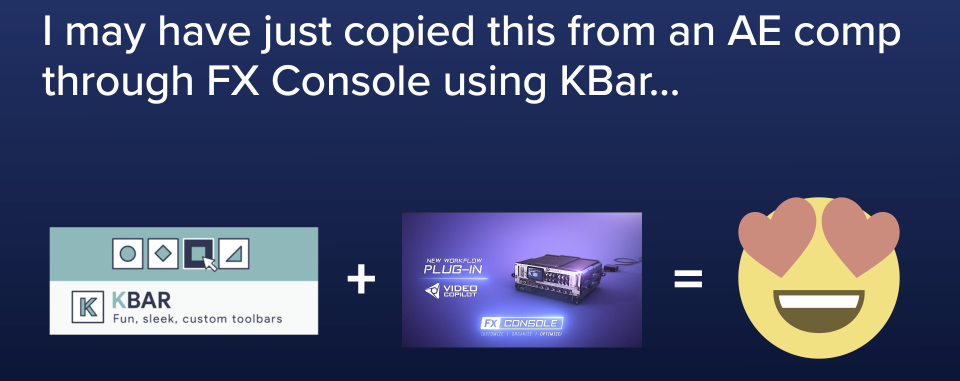
FX Console is one of those now indispensable enhancements for After Effects. In addition to easily searching for effects and presets to apply, it also serves as a gallery for taking, comparing, and exporting screen shots of your comps. KBar is another great extension to create custom toolbars and buttons to launch scripts, apply expressions and more. What if these two could work together? FX Console comes with a script panel to launch the snapshot features (screenshot, gallery, export) and preferences. With a little hacking around (and the blessing of Andrew Kramer) I was able to create a single script to put those features right into KBar buttons!

How to use it…

Open up KBar settings and create a new script button. Browse to the fxConsoleKBar.jsx script.

The default function will take a screenshot. But you can also supply the following arguments in the button setup to change the function (no quotes):

nothing : Default, takes screenshot
screenshot : Takes screenshot
gallery : Opens gallery
export : Export current frame
preferences : Opens preferences

You can make several buttons all pointing to the same script file with different arguments. Or you can setup keyboard modifiers if you just want a single button to do many things (thanks Tomas Šinkūnas). Take the following example:

alt: gallery, shift: export, cmd: preferences

With this setup, a normal button press will take a screenshot, alt press will open the gallery, shift press will bring up export options, and cmd (ctrl for windows) will open up preferences.

alt (uses option key on macOS)
cmd (uses the control key on Windows)
shift
alt+cmd
shift+alt
shift+cmd

Download

So here you go. Download the script and hook up FX Console to KBar!

Download fxConsoleKBar.jsx

More Tools

I have several other After Effects tools available, including a bundle of presets and a better way to copy/paste/reverse keyframes.

September 28, 2016

AE Script – Move Selected Layer Group

Sometimes you want to select a group of layers in After Effects, and just move them all to the current time indicator and keep their relative timing. So you think ”I’ll just hit [ and move them all!” Only then you’re immediately hitting undo as you notice all the layers in-points moved to the CTI, erasing your carefully crafted timing. I got tired of that a long time ago and wrote a little script for my ft-toolbar setup. The topic recently came up on Twitter so I thought I’d share it.

Download below and set to an ft-toolbar button, or set a keyboard shortcut on macOS. Open up System Preferences: Keyboard: Shortcuts. Then click on App Shortcuts and add After Effects. Then you can type in ‘MoveSelectedLayerGroup.jsx’ and assign a shortcut.

MoveSelectedLayerGroup.zip

March 6, 2016

AE Preset – Turbulent Wipe

Update: Turbulent Wipe is now a Fractal Wipe and part of Conigs Mixtape complete with a custom controller! Download it today!

Last week I posted on Twitter about an effects stack for a less boring linear wipe. Enough people asked for a preset, so you'll find the base preset at the bottom of the post. But first, let's go through this stack. Keep in mind this is intended to be applied to a solid and used as a matte.

Linear Wipe

01-WipeThis is the basic Linear Wipe effect we know and either love or hate. The only main difference here is adding the feather (which can be adjusted to suit your needs).

Shift Channels

02-ShiftChannelsThe Shift Channels effect is used to move the alpha channel to the luminance by applying it to the red, green, and blue channels. This is needed to get our fractal noise onto the transition since it works in RGB, and not the alpha channel.

Invert

03-InvertThe Invert effect is just here to make our wipe work in the correct direction for a reveal.

Turbulent Displace

04-TurbulentDisplaceThe Turbulent Displace effect is what gives us a nice, irregular, crawling edge on our wipe. The complexity is increased to 2.0 to give some more smaller details on the edge. Feel free to play with this, or animate Evolution to get an even more animated wipe.

Turbulent Noise

05-TurbulentNoiseLastly we have Turbulent Noise. This is what applies the noise on the edge of our wipe. You can play with different fractal and noise types, but you might need to roll Contrast back down to 100 to see the noises correctly.

Evolution is controlled by an expression which increases from to 360° as the Transition Completion on the Linear Wipe effect goes from 0% to 100%. This is very subtle, but it allows the noise to change as the wipe completes.

The last thing to note on this effect is setting Blending Mode to Overlay. This just places the noise on the gradient, and not on the black and white portions of the matte.

What’s Not In the Preset

There were a few extra effects in the Twitter post not included in the preset. This is because the further refine the look of the wipe, but aren't necessary to the basic setup. These are CC Vector Blur (added a more wispy noise), Noise HLS (remove some smoothness from the previous effect), and Curves (crank up contrast a bit more).

Download Preset

Okay, with all that said, here is the preset. Like I said earlier, it's intended to be applied to a solid and used as a luma matte. Have fun!

This preset will be maintained for those who need it, but an updated version is in the Conigs Mixtape preset pack. Download it today!

conigs_TurbulentWipe.ffx

December 8, 2009

VFX Breakdown: Sweater

Last week I was working on a retail spot where we needed a product that wasn't shot on-figure. But we did have a shot of a similar product. It just needed a little work. This is what I mean by "a little:"

I'm pretty pleased with the end result. It was a fun task to work on, though I hope I don't have to do it too often…

November 20, 2009

AE Mini Tip: Color Control Layer

If you've worked on commercial project, you know there's only one constant: change… especially at the last minute. One of the things that seems to frequently change is color choice. If you have a complicated AE animation and many layers that use the same colors, this can be a royal pain. You can reduce this pain if, from the beginning, you set up a color control layer.

[Note: this really only works well if you're working on vector animations with single-color objects.]

First, set up an adjustment layer and add the "Color Color" effect found under "Expression Controls." Do this for as many colors as you want.

ColorControl

I recommend naming the controls for the layers you will be coloring rather than the color itself.

Then, apply the "Fill" effect under "Generate." Here, you can option-click (alt-click on PC) and drag the pick-whip (that little spiral button) to the color control in your color control layer.

layer

Now, when the client comes back to you with the comment "The trees should be purple," you won't be cursing under your breath (as much).

November 24, 2008

AE CS4: Leopard vs Vista

Being a Mac guy who works with After Effects, this news really bothers me. Keven Schmidt at Creative Mac benchmarked renders in After Effects CS4 on Mac OS X and Windows. The result? AE still renders faster in Windows, by roughly 1.2x. Now, AE has traditionally rendered faster in Windows, but now that we're on v9 and OS X has been around for 8 years, you'd think there would be significant improvements. Kevin about sums it up:

Either Adobe isn't tuning After Effects on the Mac at all, or tuning the buhjeezus out of the Windows versions. Hell, even single process rendering on Vista generally spanks multiple processes on Leopard, for the love of Pete.

This, coupled with the continued sub-par performance of Flash on the Mac really makes me doubt Adobe's commitment to the Mac platform.  Are they still bitter about Final Cut Pro eating into Premiere sales back in 1998 & 1999?

As a side note, the other takeaway from the post is that enabling multiprocessing in AE doesn't save much time in either platform. For longer renders, it may help, but for those intermediate small batches, you may be better of sticking to single processes. This is something I've suspected for a long time, and I'm glad to see some numbers on this.

October 7, 2008

If you can’t afford Particular

Andrew Kramer posted another tutorial in the Meteor Crash series. The best piece of advise from the tutorial:

Now, if you don't have Particular, what you can do is go in your back yard, and get a pile of dirt together. Put it in your hand, along with a grenade... No, along with like, a small firecracker. And then... light it. And when your hand blows off, what you can do is sue the company that makes the fireworks. Take the money from the settlement, and then buy Particular... so we can do this tutorial together.

Really, he doesn't get into Particular until part 2, though.

♥︎ Built with love from Minneapolis. Projects are copyright of their respective clients. All others ©2004-2023 Paul Conigliaro.